Languages and currencies
Shopify handles the languages, countries and currencies your store sells in. Pawsome gives shoppers selectors to switch between them, and its own storefront text comes in six languages.
Set up countries and currencies in Shopify
Section titled “Set up countries and currencies in Shopify”The country selector lists the countries in your active markets, each with its currency. You create markets and choose their currencies in Shopify admin, on the Markets page. Read Shopify’s guide to Markets and Shopify’s guide to selling in multiple currencies.
Add languages in Shopify
Section titled “Add languages in Shopify”- In Shopify admin, go to Settings > Languages.
- Click Add language, pick a language, then click Next.
- Turn on the domains that should offer the language, then click Done.
- Add your translations, then publish the language from the menu next to it.
Shoppers only see published languages. See Shopify’s guide to adding languages.
Where the selectors show
Section titled “Where the selectors show”A selector only shows when there is something to choose. The country selector needs more than one country available, and the language selector needs more than one published language. A single-language, single-country store shows neither, whatever the settings say.
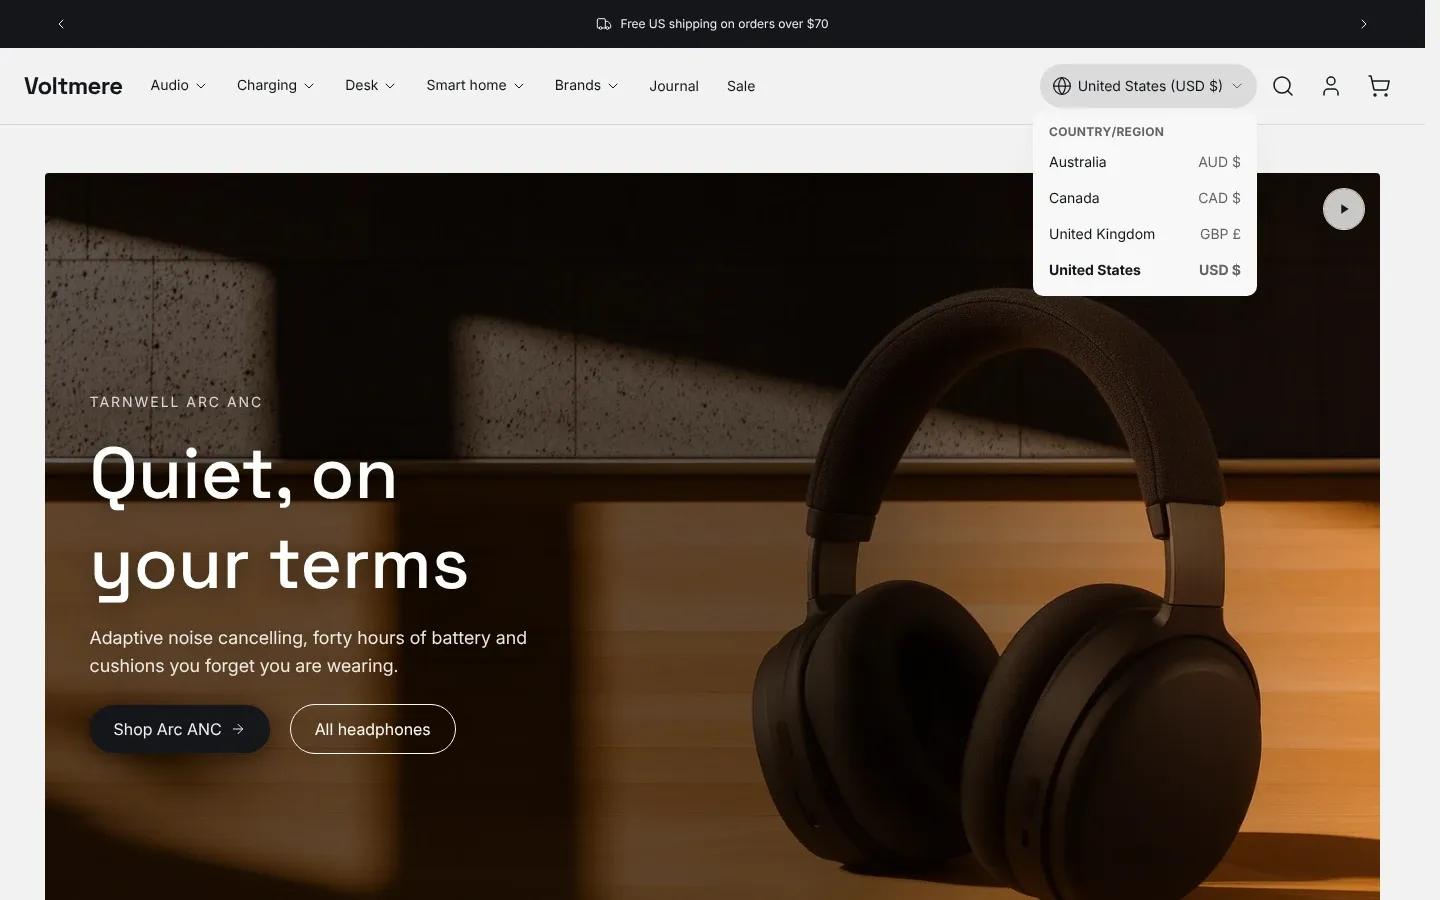
You can show the selectors in three places. Each section has its own Show country selector and Show language selector checkboxes.
| Section | Where to find the settings |
|---|---|
| Header | Localization settings |
| Footer | Bottom bar settings |
| Announcement bar | Localization settings |
The header shows its selectors at the end of its bar on screens 1024 pixels wide and up. On smaller screens, the same two settings put the selectors at the bottom of the menu drawer instead. The footer shows them in its bottom bar. The announcement bar shows them at the end of the bar. With Show on mobile off, phones hide the bar and its selectors.
Every preset turns on the country selector in the footer, and all but Tadpole turn it on in the header too. The language selector is on in the header only in the Pawsome preset, and in the footer in the Pawsome and Tadpole presets. A selector that is on in both the header and the footer shows in both places, so turn one off if you want it in one place only.
What shoppers see
Section titled “What shoppers see”The country button shows the current country with its currency code and symbol, such as “Canada (CAD $)”. The list it opens shows each country with its currency. The language button shows each language in its own language, such as “Deutsch” or “Français”. Picking an option reloads the page in the new country or language. The theme shows no flags.
The six theme languages
Section titled “The six theme languages”Pawsome ships its storefront text, such as button labels, cart messages and form errors, in English, German, Spanish, French, Italian and Dutch.
When you publish one of these languages, the theme’s own text appears in it without any work from you. Text you typed yourself, such as headings in sections, product descriptions and menu items, still needs translating.
The theme editor also shows Pawsome’s setting names in these six languages, following the language of your Shopify admin.
To change a piece of the theme’s built-in text, such as the wording of the add to cart button, go to Online Store > Themes, open the three-dot menu next to the theme, then click Edit default theme content. See Shopify’s guide to changing theme wording.
Translate your content with Translate & Adapt
Section titled “Translate your content with Translate & Adapt”Shopify’s free Translate & Adapt app translates the text you added: products, collections, pages, blog posts, policies, and the headings and text inside theme sections.
- In Shopify admin, go to Apps > Translate & Adapt.
- Pick the language to translate into.
- Choose the content to translate, such as a product, a page or your theme.
- Translate by hand, or use Auto-translate. Shopify allows automatic translation for up to two languages.
See Shopify’s guide to Translate & Adapt.
Right-to-left languages
Section titled “Right-to-left languages”Pawsome does not ship a right-to-left translation. If you add one yourself, such as Arabic or Hebrew, the theme marks each page with the language’s reading direction. Drawers and scrolling text then follow that direction. Preview every page type in the new language before you publish it.